3. Computer Aided Design
This week's assignment is to design something in 2D and 3D softwares simulate, animate and render where is is possible.
2D Design
I am using CorelDRAW software. It is a vector graphics editor developed and marketed by Corel Corporation. Is designed to design and edit two-dimensional images such as logos and posters and it is available for Windows and macOS. It is one the most powerful tool out there in its category.

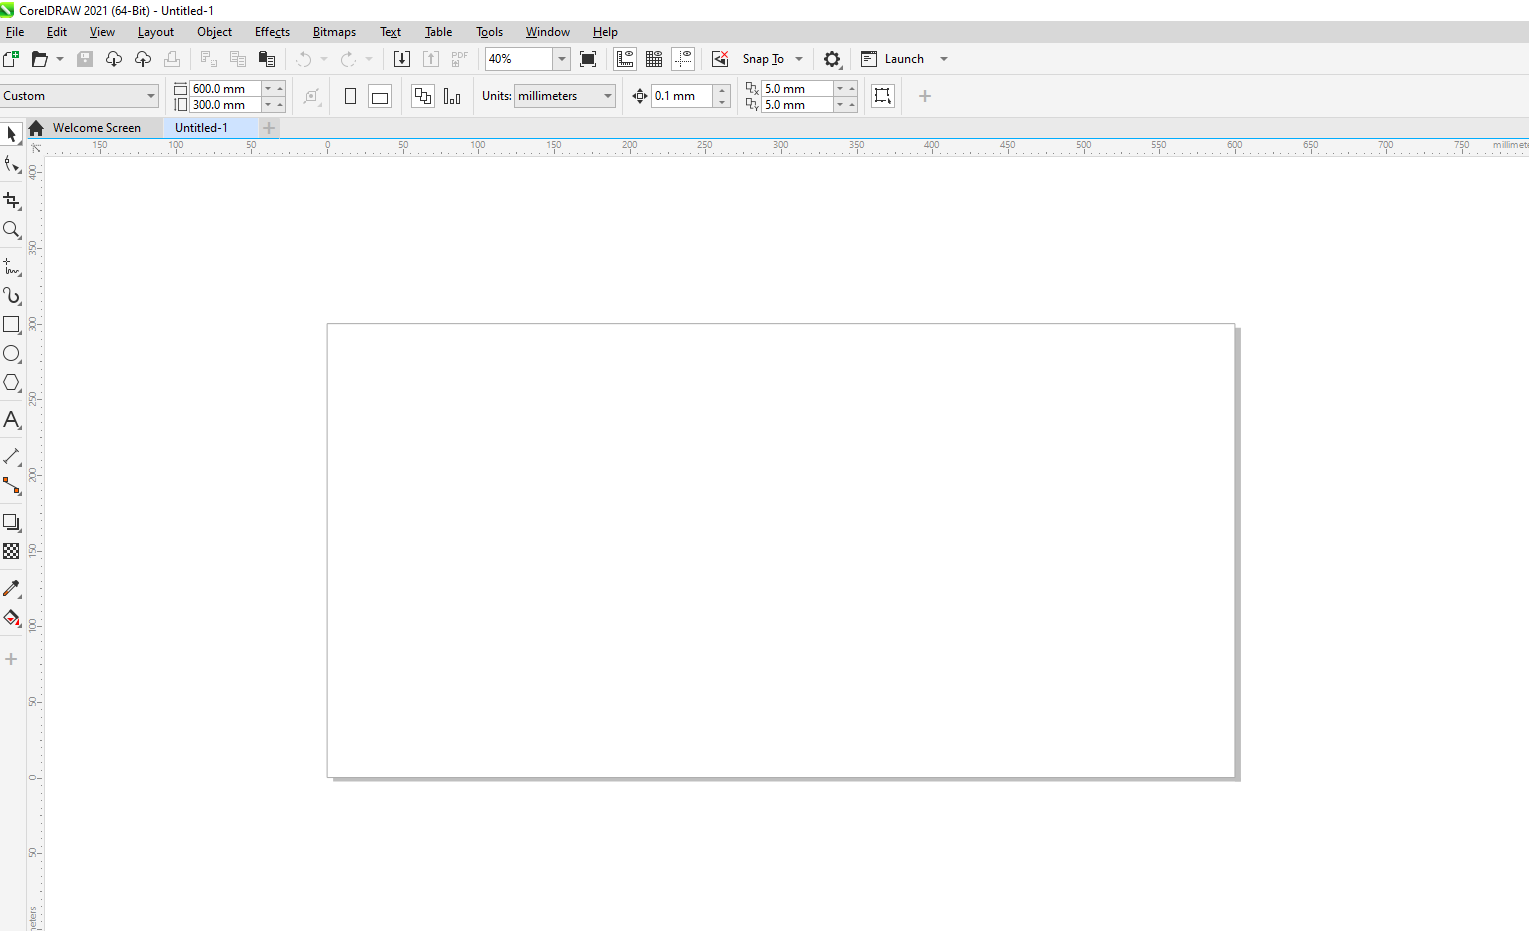
CorelDRAW Interface
I redesigned Fab Lab Rwanda logo. The purpose is to get high detailed logo.
I first created new file and set workspace (300x600mm) as well as the unit

I first imported the picture

I used sketch tools to create vector. I started by creating the outside countour with elipse. To create circle, hold control while you are creating/drawing the elipse.
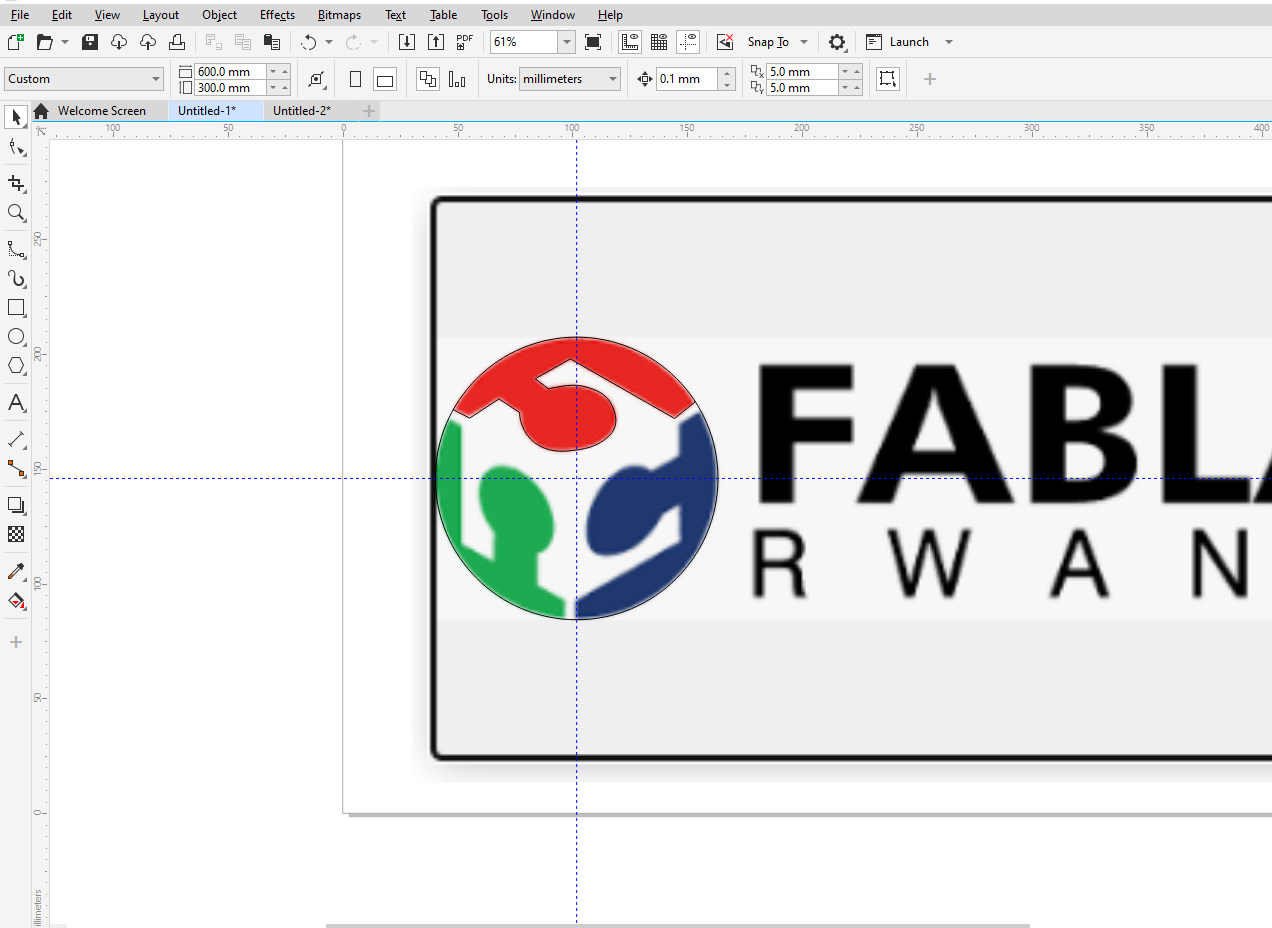
I create the curves, I used Bezier to create straight lines and B-Spline to create curved/irregular vectors.

Next, with the help of text tool, I wrote the words, FABLAB RWANDA and adjasted the fonts according to the original logo.

Finally, I applied the colors.

Final exported logo.

3D Design
SolidWorks
SolidWorks is a solid modeling computer aideded design and computer aided engineering software. It is primarliy used to design 3D parametric objects.
Designing shelf in SolidWorks

step 1: Open SolidWorks software

Step 2: Create new file and select part mode.

Step 3: Select front plane and then start sketching. In my case, I am starting with corner rectangle and make it concide with the origin

Step 4: Add dimensions Bonus: Using equation, you can adjust it size later easily.

Step 5: Add the thickness with Boss-Extrude. The thickness here, is that of the material you are planing to use. Here I used 18mm thickness. Plywood and MDF are commonly found on the market.

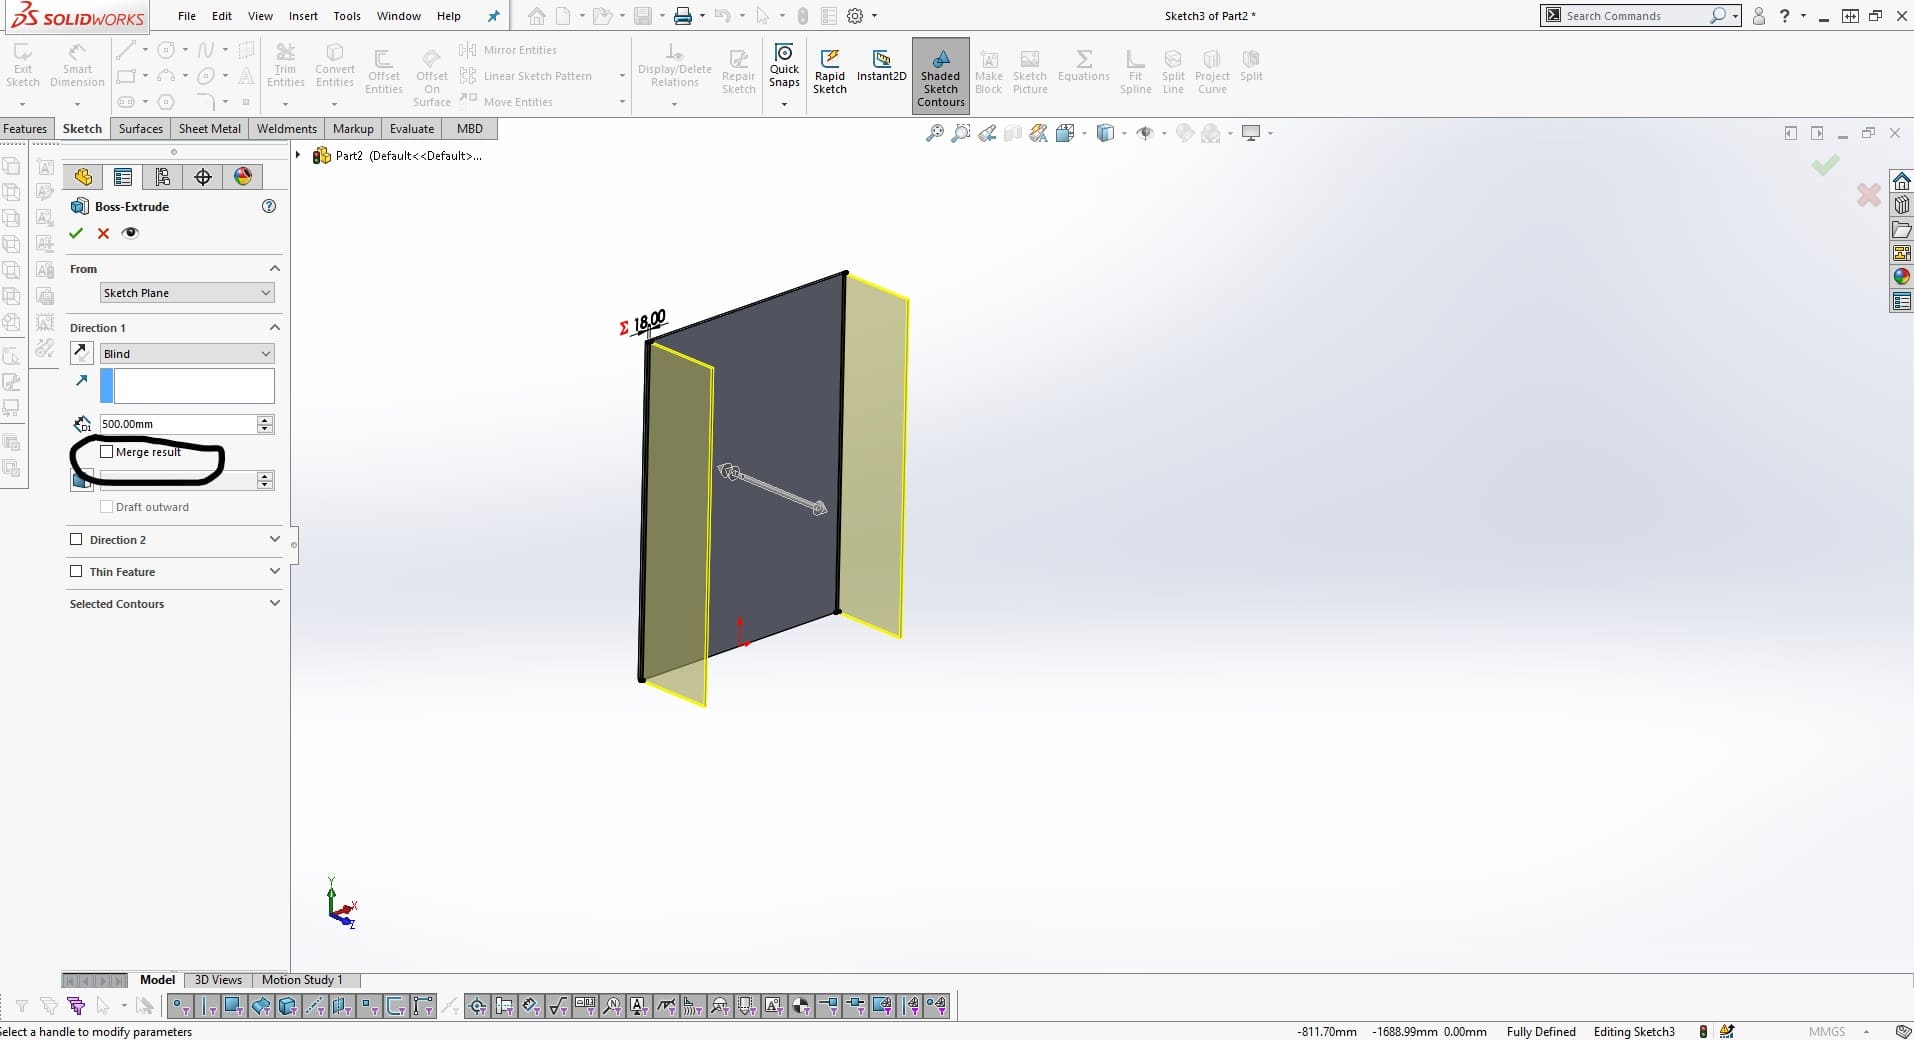
Step 5: Add the side pannels Note: Uncheck merge reult option to make sure all parts/bodies will be separeted.

Step 7: Add top and middle pannels.

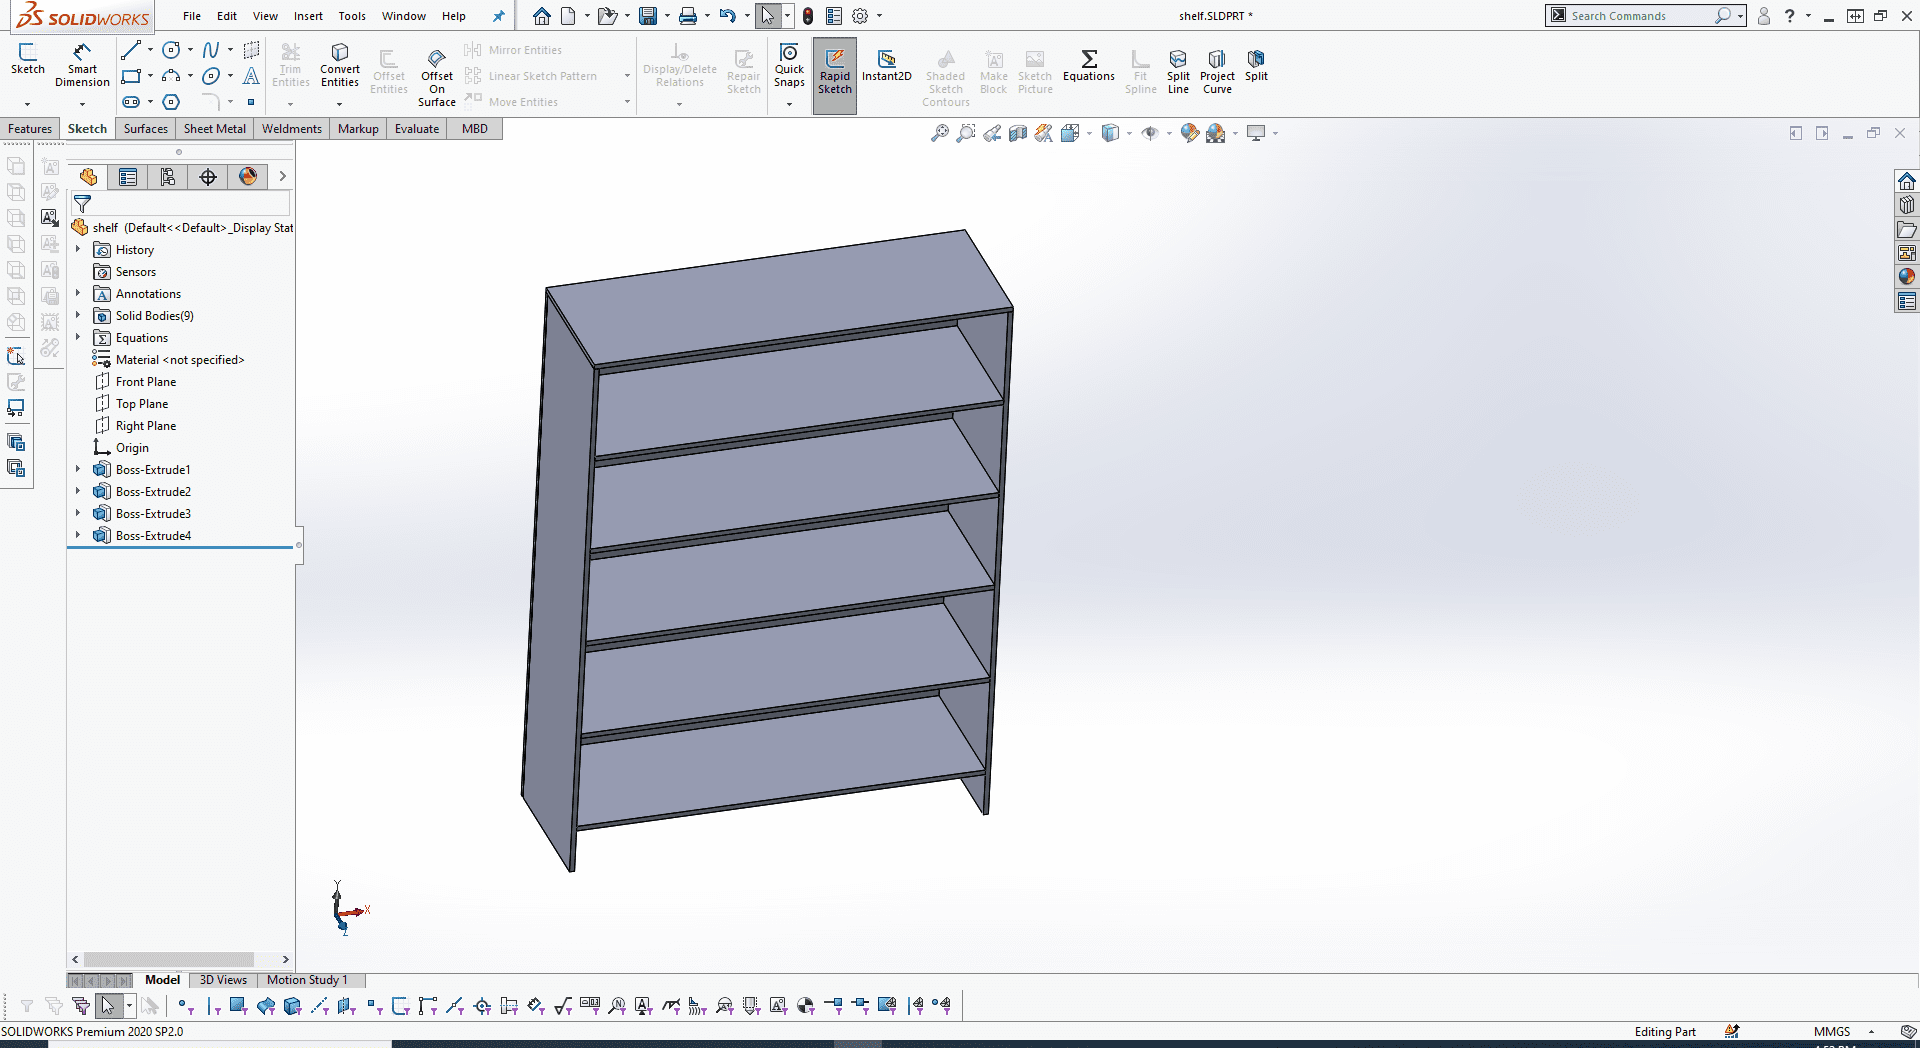
Step 8: Cut out the bottom side of the side pannels and add fillets


Step 9: Apply material
